Creative Tools
Vibe Coding for Beginners: Build Your First iPhone App with Zero Experience
Step-by-step guide to create and submit an iPhone app using Vibe Coding—no programming required. Covers setup, UI, APIs, testing, and App Store submission.
Vibe Coding for Beginners: Build Your First iPhone App with Zero Experience
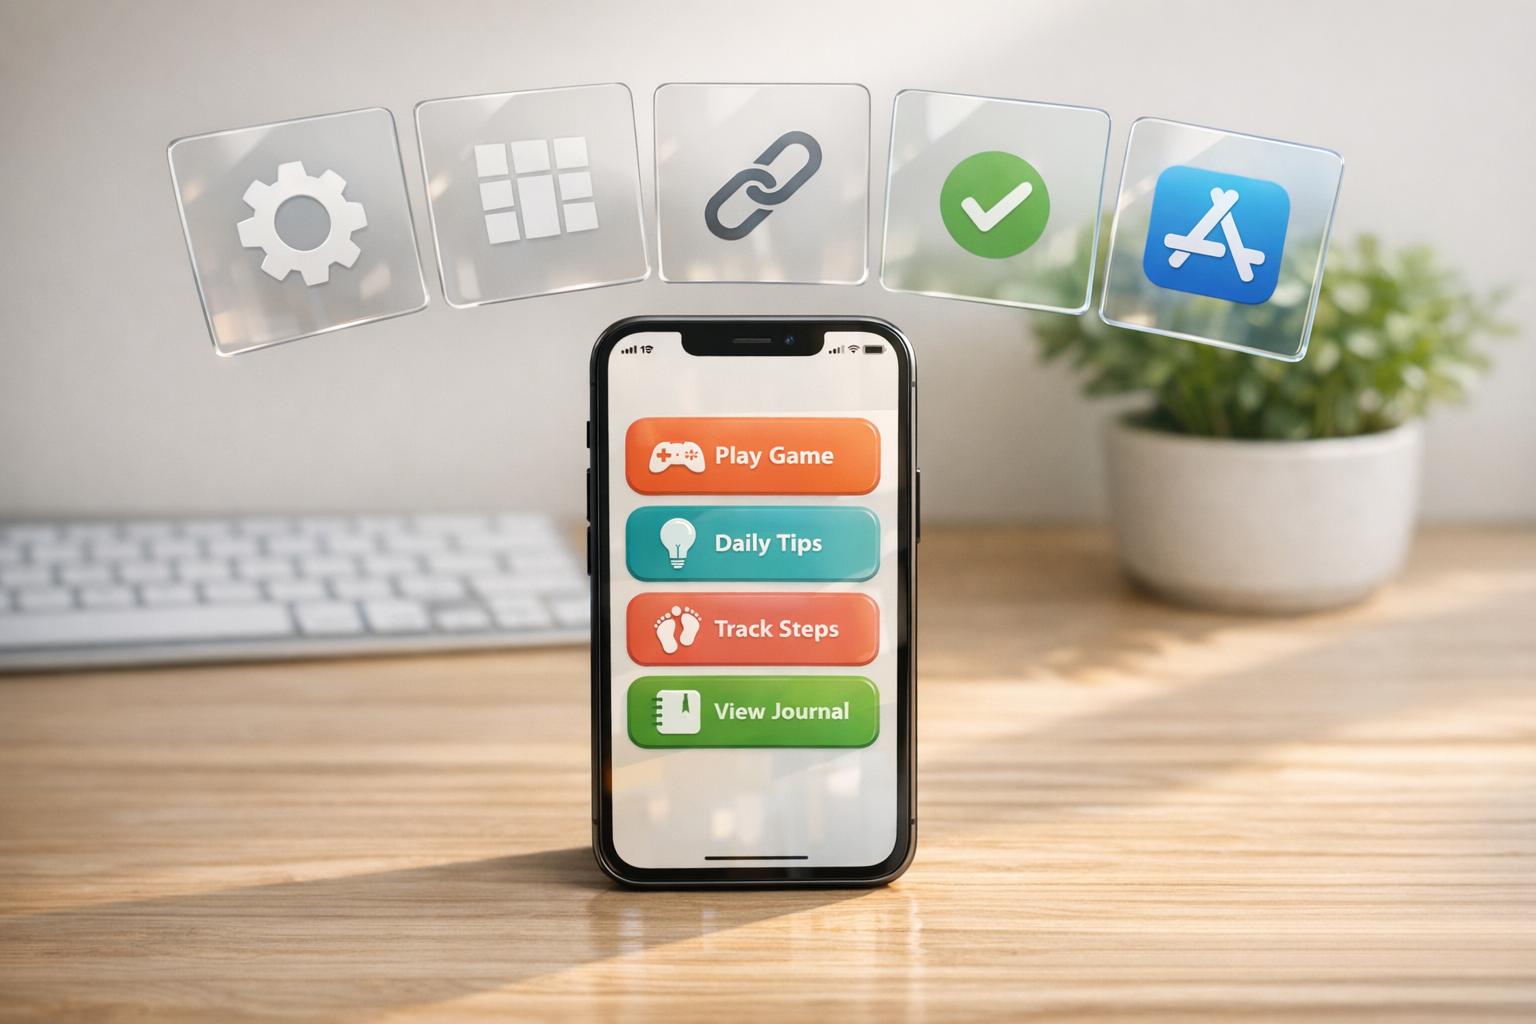
Vibe Coding lets you create iPhone apps by simply describing your ideas in plain English. No coding knowledge is required - AI generates the code for you, similar to how AI tools for software developers streamline professional workflows. This approach, introduced in 2025, has made app development faster and more accessible. Here’s how you can get started:
- Setup: Install the Vibecode app, create accounts (Expo, Apple Developer), and configure basic settings like your app name and bundle ID.
- Build Your App: Describe your app’s concept, design the interface, and refine features using conversational AI prompts.
- Testing: Test thoroughly on real devices to avoid issues during App Store review.
- Submit to App Store: Prepare metadata, screenshots, and privacy policies, then submit your app for approval.
With Vibe Coding, you can build a functional app in hours, even with no prior experience.
Complete Guide to Building and Launching Your First iPhone App with Vibe Coding
Vibe Coding a Mobile App with AI (from 0 to market)
sbb-itb-212c9ea
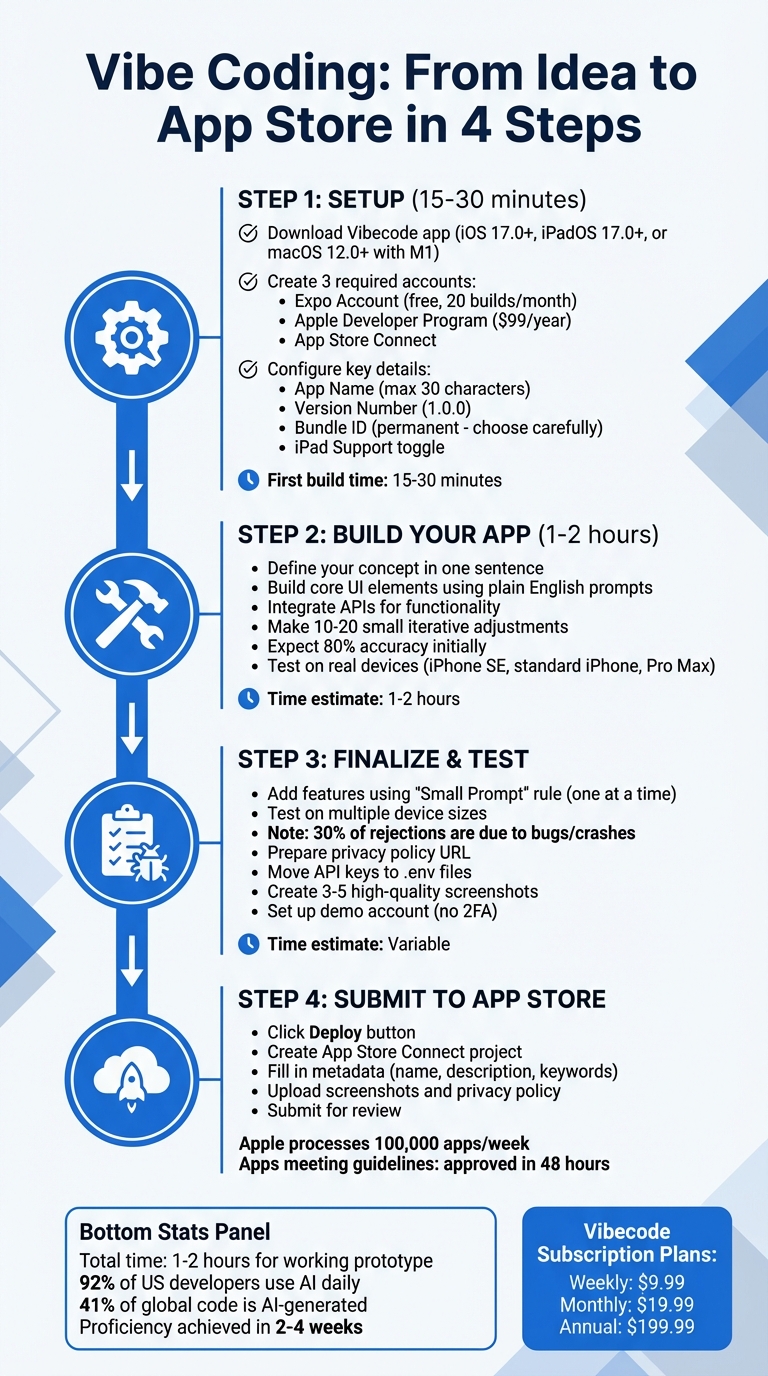
Setting Up Your Development Environment
Get your development environment up and running in just 15–30 minutes.
Download and Install the Vibecode App
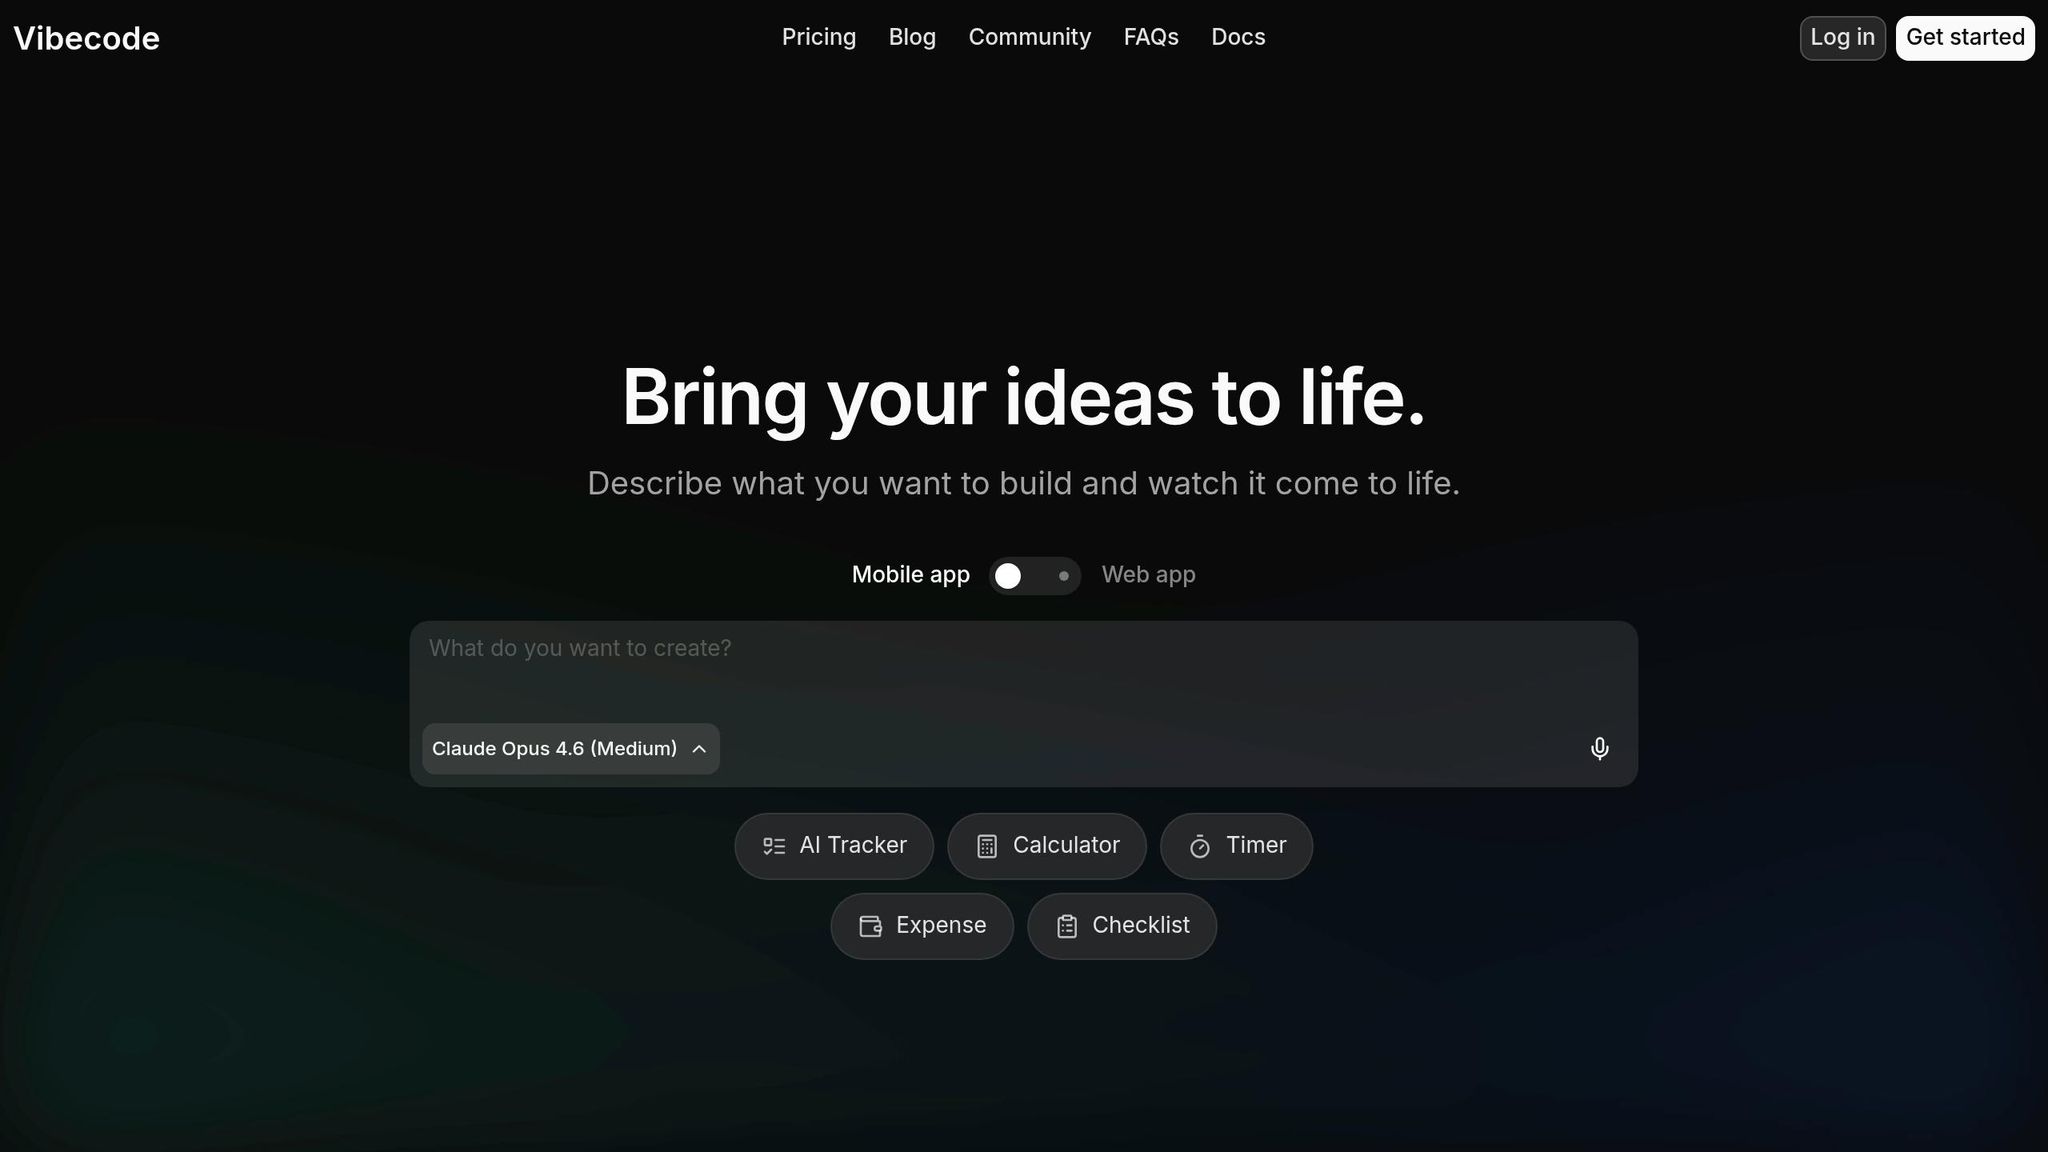
The Vibecode app is specifically designed for Apple devices. To use it, make sure your device meets these requirements: iPhone with iOS 17.0 or later, iPad with iPadOS 17.0 or later, or a Mac running macOS 12.0 or later with an Apple M1 chip or newer (Intel-based Macs are not supported). To download, open the App Store, search for "Vibecode - AI App Builder," and install it. The app is highly rated and offers flexible subscription plans: weekly at $9.99, monthly starting at $19.99, or annually for $199.99.
Create Required Accounts
To build and deploy your app, you'll need three accounts:
- Expo Account: Sign up for free at expo.dev. This platform handles your app's cloud builds and provides 20 free builds per month.
- Apple Developer Program: Enroll for $99 per year to submit apps to the App Store.
- App Store Connect: Create an account at appstoreconnect.apple.com to manage your app's metadata, reviews, and more.
Configure Your Tools
Once your accounts are set up, it's time to link them to Vibecode:
- Connect Expo: Log in to your Expo account, navigate to Settings → Access Tokens, and generate a token. Use the paste button in Vibecode to input this token.
- Sign in to Apple: Log into your Apple Developer account with your Apple ID to streamline future builds.
During this setup, you'll configure key app details:
- App Name: Choose a name (max 30 characters) that will appear in the App Store.
- Version Number: Typically set to "1.0.0" for the first release.
- Bundle ID: Use a unique identifier like
com.yourcompany.appname. This cannot be changed after the first build, so pick carefully. - iPad Support: If you want your app to work on iPads, toggle the "Support iPad" option during setup.
| Configuration Item | What You Need | Why It Matters |
|---|---|---|
| Apple ID Login | Apple Developer email and password | Required for App Store deployment |
| Bundle ID | Unique ID (e.g., com.dev.myapp) |
Permanent identifier that cannot be changed later |
| Expo Access Token | Token from expo.dev settings | Enables cloud build services |
| App Name | A name (max 30 characters) | Determines how your app appears in the App Store |
Once your configuration is complete, your first build will take about 15–30 minutes. Afterward, your app will be available in TestFlight for internal testing. From here, you'll be ready to dive into building your app's core features.
Building Your First App: Step-by-Step
With your development environment ready, it's time to dive into creating something tangible. The process is straightforward: describe your idea in plain language, let Vibecode generate it, test the output, and refine it through feedback.
Define Your App Concept
Start by summarizing your app idea in a single sentence. For example: "A movie discovery app that suggests films based on mood." Keeping it concise ensures clarity and focus. Before drafting any prompts, sketch a basic layout of your app. This step helps you visualize the main screens and the user journey.
Break your app idea into five key parts: type, target user, core functionality, stored data, and visual style. For instance: "A movie discovery app for casual viewers that lets users swipe through trailers and save movies. It stores titles, genres, posters, and liked statuses, with a dark mode cinematic design."
To keep things manageable, limit your first version to two or three core screens. Start with the main screen, make it functional, and add features gradually. This layered approach helps you avoid unnecessary complexity and keeps your project on track.
Once your concept is clear, the next step is designing the user interface.
Build Core UI Elements
Vibecode simplifies interface creation by turning natural language descriptions into functional designs. Use specific instructions like "Make the header smaller" or "Change button colors to blue" to refine your app's look.
When writing prompts, include details about colors (e.g., a light blue theme), spacing (like 24px padding), and specific elements (such as a sticky header). For mobile apps, ask for a responsive layout or ensure columns stack properly on smaller screens. You can also define interactions, like displaying a success message after a form submission or a confirmation dialog before deleting an item.
Expect about 80% accuracy in the initial output. Fine-tuning comes through small, iterative edits - successful app builders often make 10 to 20 small adjustments to perfect a single feature. After each change, test thoroughly to confirm everything works as intended.
Once the interface is solid, it’s time to bring your app to life by integrating APIs.
Integrate APIs for Functionality
To incorporate real content, you’ll need to connect to an external database. Start by outlining your data structure: decide what to store (e.g., product details, user preferences, or search results) and how users will interact with it (e.g., searching, saving, or filtering). Begin with the data model, then add the logic for fetching data, and finally display it in the UI.
If an API call fails, copy the error messages and share them with Vibecode for troubleshooting. To improve the user experience, include a loading spinner while fetching data. Testing with real-world scenarios is essential - it often highlights gaps in logic or usability that might not be obvious from the interface alone.
"The easiest way to write better prompts is to stop treating AI like a vending machine for code. Treat it like a colleague." - Graham Bower, Developer of Reps & Sets
Adding Features and Finalizing Your App
Before releasing your app, it’s crucial to polish every detail, fix any lingering bugs, and ensure you meet Apple’s strict submission standards. This stage often determines whether your app gets approved in just 48 hours or faces prolonged rejection.
Add More Features
When adding features, take it step by step. The "Small Prompt" Rule is a great way to keep the AI focused and avoid breaking existing functionality. For instance, instead of overwhelming the AI with a request like "add dark mode, notifications, and user profiles", start with something specific: "Use Tailwind CSS to create a toggleable dark mode with a slate-900 background." Once that works, move on to the next feature.
If you notice the AI producing inconsistent results or "hallucinating", reset the conversation. Provide your clean, current code as context and start fresh.
When working with external APIs - like a face-swapping service - always include the API documentation or clearly describe the expected behavior and triggers. Don’t forget to save stable versions of your code before making major changes. Version control is your safety net.
After integrating new features, test them rigorously to ensure everything functions smoothly.
Test Your App
Testing on actual devices is non-negotiable because simulators can miss critical issues. Try running your app on different iPhone models, such as the iPhone SE, a standard iPhone, and a Pro Max, to confirm it works well across various screen sizes. Roughly 30% of App Store rejections are due to bugs or crashes, so this step is essential.
Use a fresh test account to go through every user flow, from signing up to signing out. Test every button, swipe, and navigation path multiple times. This hands-on approach often uncovers edge cases that AI logic might overlook. If something breaks, copy the error message into Vibecode to pinpoint the issue and fix it efficiently.
"Testing AI-generated code isn't just about finding bugs - it's about understanding how a machine interpreted your requirements and whether that interpretation matches your vision." - ThisIsGlance Expert Guide
A real-world example comes from developer Akhil Dakinedi, who found performance lags in his app "Poker Slam" due to AI-generated swipe gestures during playtesting. By refactoring 2,000 lines of code to use simpler tap gestures, he resolved the issue before submission.
Once testing is complete, ensure your app aligns with all App Store guidelines before submitting it.
Prepare for App Store Submission
Apple’s review team handles 100,000 apps weekly, so attention to detail is critical. Make sure your app name is under 30 characters and avoid using special characters like tildes or quotation marks. Placeholder text like "Lorem Ipsum" or empty pages will lead to rejection.
You’ll also need a publicly accessible privacy policy URL. Move all API keys to .env files (secure configuration files) and add them to your .gitignore to keep them private. Prepare 3–5 high-quality screenshots with clear text and a subtitle showcasing your app’s main benefit.
If your app requires a login, provide a functional demo account in the "App Review Information" section of App Store Connect. Avoid enabling two-factor authentication for this account. Additionally, ensure your app uses the iOS 26 SDK or later, as required since April 2026. Use TestFlight to distribute beta builds to up to 10,000 testers - apps that meet all guidelines are usually reviewed within 48 hours.
Once your app is fine-tuned and approved, you’ve successfully completed your first project with Vibe Coding, paving the way for future projects.
Submitting Your App to the App Store
Once your app is thoroughly tested and ready to go, the next step is getting it onto the App Store. This involves packaging your app, setting up an App Store Connect project, and submitting it for Apple's review process.
Build and Export Your App
In your Vibe Code project, click the Deploy button located in the top-right corner to access the deployment menu. Double-check your production API keys and replace any test keys with live ones. Once ready, hit Deploy to first build and publish your backend server. This step ensures that your live API endpoints and database are fully operational and ready for your app to function seamlessly.
Create an App Store Connect Project
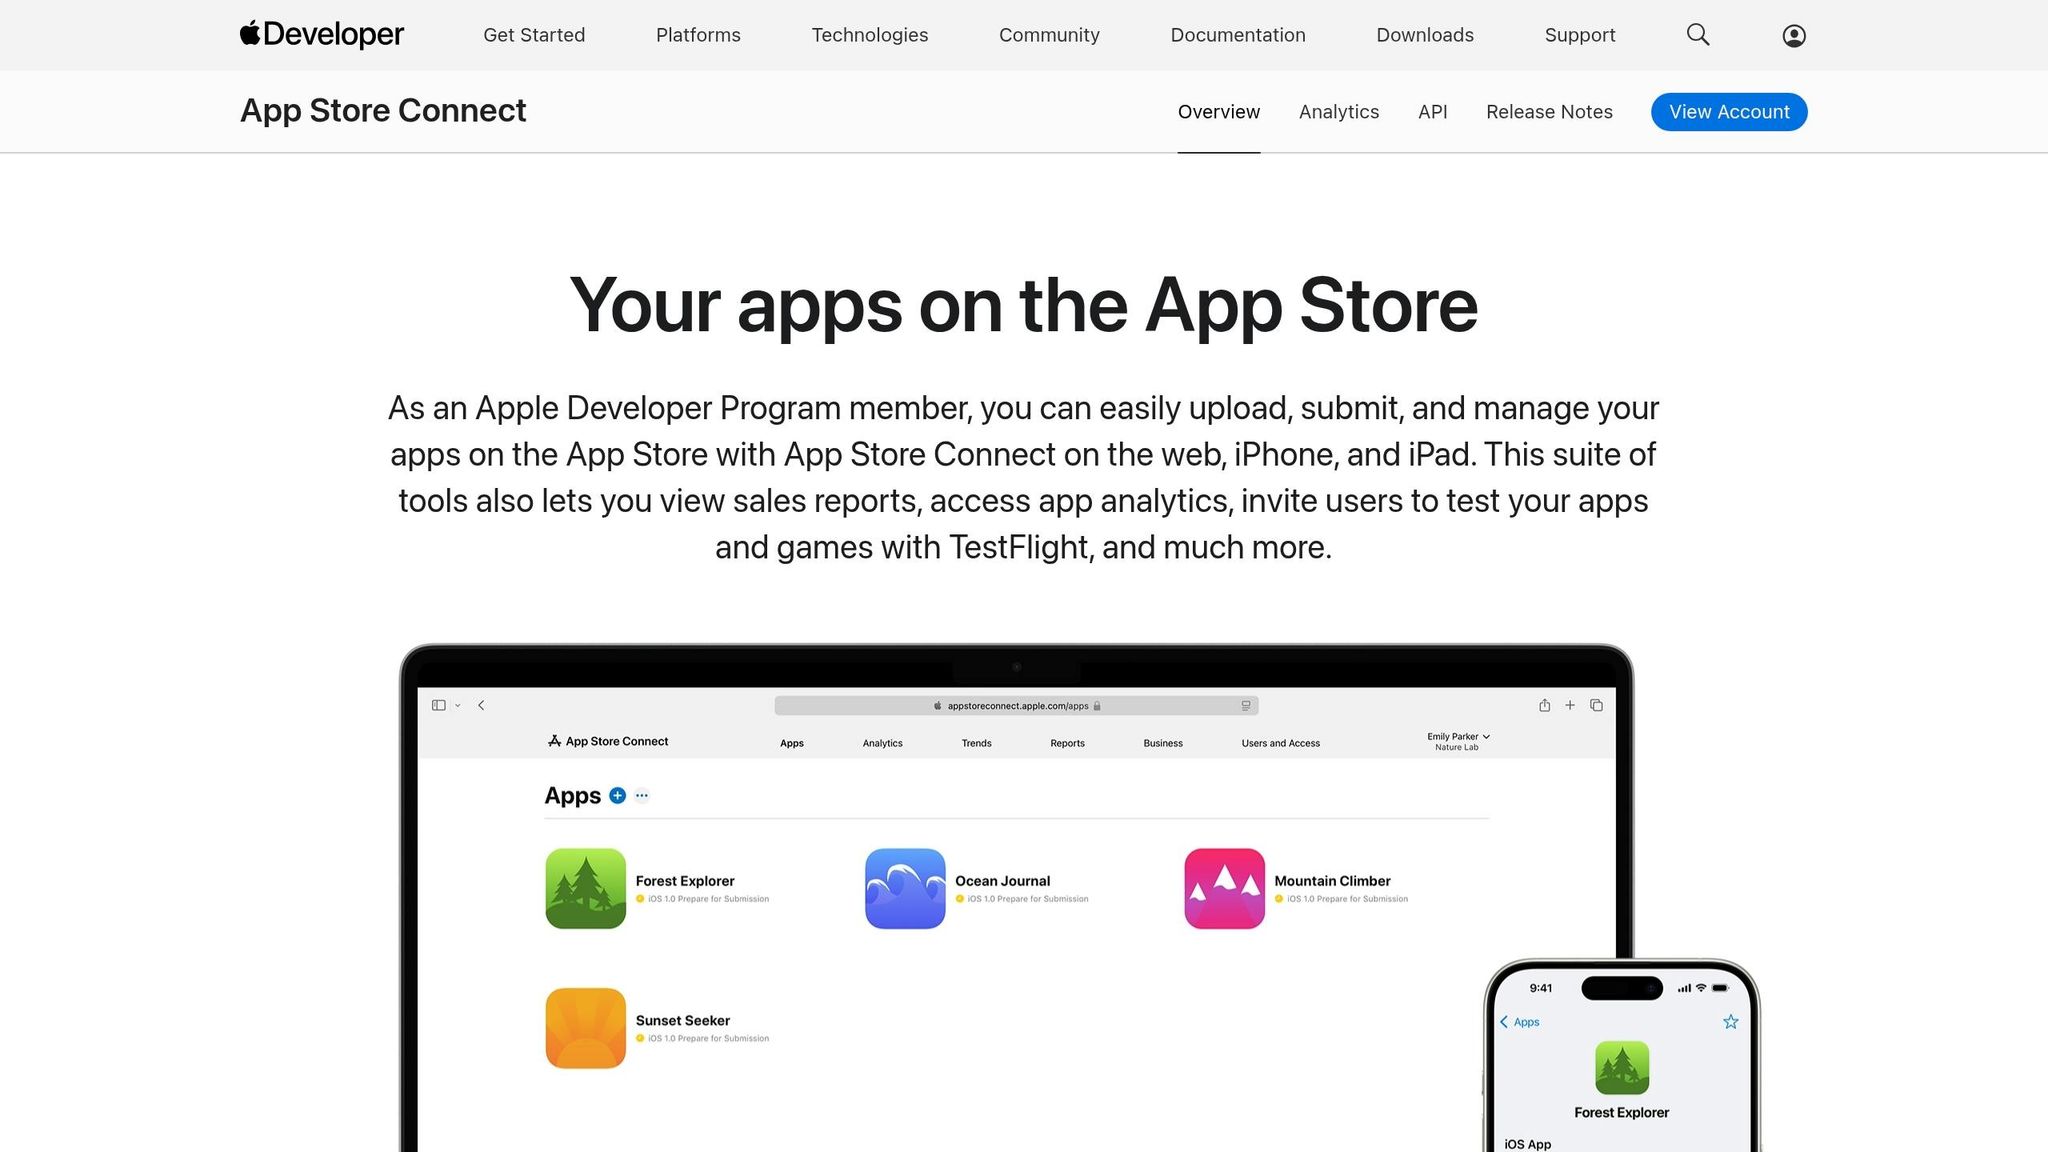
Log in to App Store Connect, navigate to "My Apps", and click on the "+" icon to create a New App. You'll need to fill in several important details:
- App Name: This must be unique and can’t exceed 30 characters.
- Platform: Choose iOS.
- Primary Language: Select the language your app primarily supports.
- Bundle ID: This must match the one used in your Xcode project and cannot be changed after your first build is uploaded.
"The bundle ID must match the one you used in Xcode... It can't be changed after you upload your first build." - Itsuki, Developer and Technical Writer
For internal tracking, create an SKU (Stock Keeping Unit). Many developers use their Bundle ID without the dots, such as ComExampleApp. You’ll also need to add your app's Subtitle (up to 30 characters), Description (up to 4,000 characters), Keywords, Support URL, and Privacy Policy URL.
Under "App Review Information", make sure to include contact details and, if your app requires login credentials, provide a working demo account. Be sure this account doesn’t have two-factor authentication enabled. Finally, select your app’s pricing tier - whether free or paid - and specify the countries where your app will be available.
With all the details in place, you're ready to move on to submission.
Submit for Review
After uploading your build and configuring your project, submit your app for review. Apple processes about 100,000 app submissions each week, so precision is key. Ensure you’ve uploaded all required screenshots, provided a working privacy policy URL, and tested your demo credentials. Apps that adhere to Apple’s guidelines are typically approved quickly. You can opt to release your app automatically after approval or schedule a specific launch date for a coordinated release.
Conclusion: Your First App is Complete
Key Takeaways
You’ve just built and submitted your first iPhone app using Vibe Coding - without writing a single line of code. Starting with a clear app concept, you used Vibe Coding to design your interface and functionality, refined it through conversational prompts, and successfully navigated the App Store submission process. Remarkably, this entire journey - from idea to a live app - can take as little as 1 to 2 hours for a working prototype.
What makes Vibe Coding so powerful is how accessible it is. Today, 92% of US developers rely on AI daily, and 41% of global code is AI-generated. This isn’t just for seasoned developers; it’s a game-changer for anyone with an idea. As Andrej Karpathy, former Tesla AI Lead, famously said: "The hottest new programming language is English."
Remember, the first 80% of the process sets the stage, while ongoing refinements lead to polished success. This method - describing your goals and letting AI build your app - is the future of app development in 2026. Use this approach to keep progressing on your development journey.
Next Steps for New Developers
Now that you’ve launched your first app with Vibe Coding, it’s time to take the next steps. Start by promoting your app on a zero-budget strategy: share your experience on X (Twitter), launch it on Product Hunt, or engage with communities like Reddit’s r/SideProject or r/indiehackers. Seek feedback from your first 10 users by reaching out directly - connect with people who’ve expressed frustration with the problem your app solves and invite them to try it.
As you grow more confident, dive into Vibe Coding’s advanced features, such as deeper code control and multi-file editing. Follow a 30-Day Roadmap to build your skills: Week 1 for simple projects, Week 2 to understand generated code, Week 3 for public deployment, and Week 4 to add APIs and authentication. With consistent practice, most developers achieve proficiency in 2 to 4 weeks. Some solo founders have even reached $2,000 to $10,000 in monthly recurring revenue within six months of launching their apps. This is just the beginning of what you can achieve.
FAQs
What can I build without coding?
With Vibe Coding, building apps doesn't require traditional coding expertise. You can create a range of applications, such as landing pages, dashboards, form-based tools, prototypes, or even more complex tools like expense trackers and subscription managers. All you need to do is describe your app idea in simple terms, and the platform's AI takes care of the technical details, making the process fast and beginner-friendly.
How do I avoid App Store rejection?
To prevent your app from being rejected when using Vibe Coding, it's essential to follow Apple's App Store Review Guidelines closely. Make sure your app aligns with their standards for functionality, user experience, and security.
Start by setting up a developer account and thoroughly testing your app to iron out any bugs or issues. Double-check that your app complies with all of Apple's policies before submitting it for review. Taking the time to understand the app deployment process, including account setup and guidelines, can save you from unnecessary setbacks and make the approval process smoother.
How much will it cost to publish?
To publish an app built with Vibe Coding, you'll need an Apple Developer account, which comes with an annual fee of $99. While certain development tools might have free options, this fee is a necessary expense for getting your app on the App Store. Make sure to factor this cost into your budget as you plan your app's launch.